
Rendering that earns its keep.
Render is the coat your house wears through every Welsh winter. It keeps weather out of the wall and changes the look of the whole property, and which one is right depends on how that wall is built.
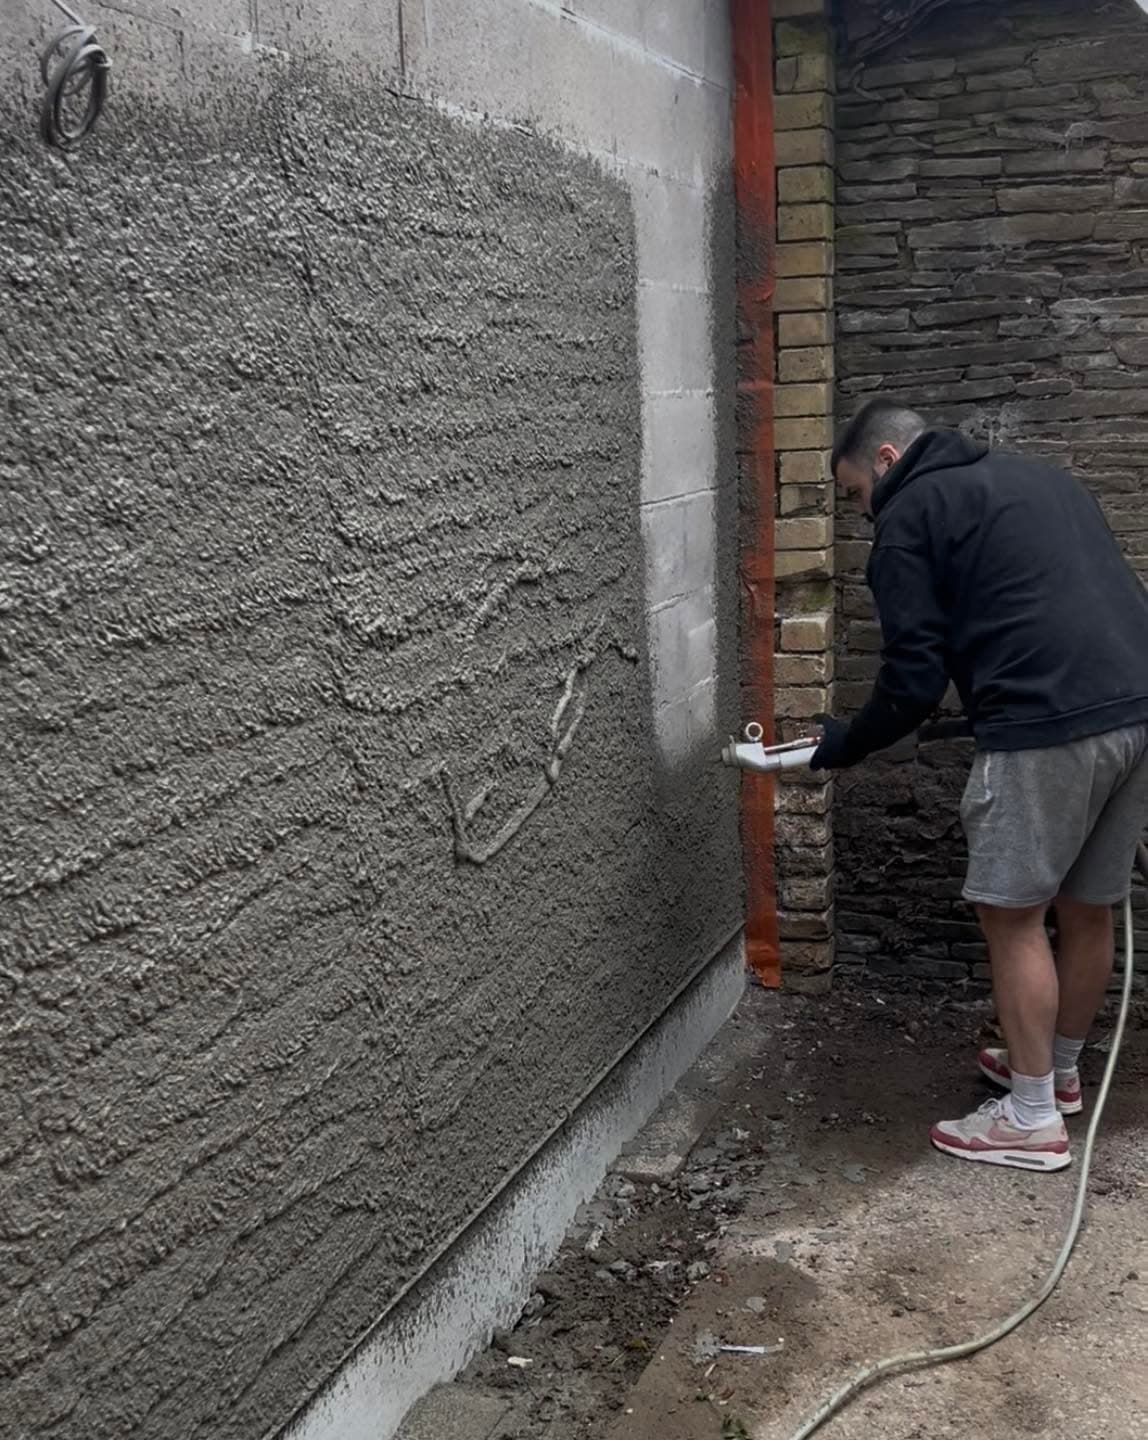
Choosing a finish
Four systems, and the walls they suit.
There is no best render, only the right one for your wall. Putting a sealed cement coat on a solid wall that needs to breathe is the most expensive mistake on this page, and it is a common one.
- Silicone thin coat
- Flexible, breathable and colour-stable. It copes with slight movement without cracking and stays clean longer than most. The usual choice on modern walls and insulated systems.
- Monocouche
- Through-coloured, so the colour runs the full depth rather than sitting on the surface. Applied in one pass and never needs painting. Hard-wearing and low maintenance.
- Sand and cement
- The traditional finish, hard and durable, painted once cured. Still the right answer on plenty of walls, and the most economical of the three.
- Lime render
- For solid-walled and older property that has to breathe. Softer and slower to apply, but the only sensible option where cement would trap moisture in the wall.
On a period or listed property, lime is almost always the answer. That work has its own page: heritage and lime work.
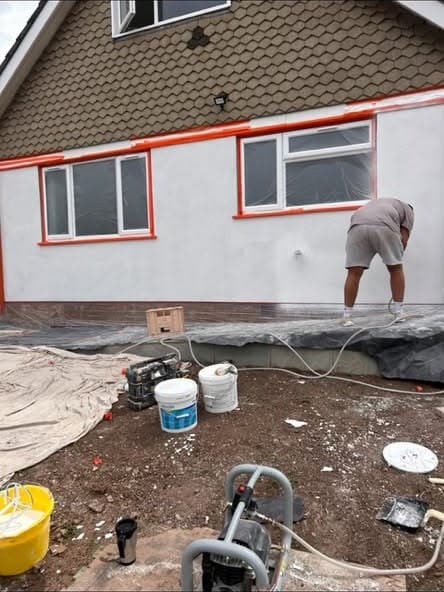
- Silicone thin-coat render
- Monocouche through-coloured render
- Traditional sand and cement
- Lime render on older, solid-wall property
- Pebble dashing
- Insulated render systems
How a render job runs
The coat you never see is the one that matters.
Almost every failed render on a Monmouthshire house failed underneath, in the preparation and the basecoat, long before anyone noticed a crack in the finish.
Every job is quoted with the preparation written into it, so you can see what you are paying for rather than taking the cheapest number and hoping the wall was ready.
- 01
Look at the wall first
We tap the existing render through, check what the wall is built of, and look at where water is getting to it. What is behind the render decides which system goes on the front of it.
- 02
Strip, prepare and protect
Failed render comes off, the substrate is made good, and beads go on to give clean arrises and a straight line at the base. Windows, doors, drives and planting get masked and sheeted before anything is mixed.
- 03
Basecoat and reinforce
The basecoat goes on and the mesh is bedded into it, which is what stops movement in the wall turning into cracks across your new finish. This is the coat nobody sees and every failure starts in.
- 04
Finish, and clear the site
The top coat is applied and textured, beads and details are cut in, and the scaffold and masking come off. The job is not done until the ground around your house looks like we were never on it.
Also covered
Dash, insulation and repairs.
Not every render job is a whole house in a new finish. Plenty of what we do is putting right one elevation, matching what is already there, or making a cold wall warmer while we are on it.
- Pebble dashing
- Still on a great many houses around here, and still worth repairing rather than replacing when the bulk of it is sound. We patch and match it, or take it off and put a modern finish on if that is what you would rather have.
- Insulated render systems
- Insulation board fixed to the outside of the wall and rendered over, so a cold solid-walled house gets warmer without losing a single inch of room inside. It changes reveals, sills and rainwater goods, so it wants planning properly rather than deciding on site.
- Patch repairs
- A blown patch under a leaking gutter does not always mean the whole elevation comes off. If a repair is the honest answer, that is what we will quote, and we will tell you what caused it so it does not simply happen again.
Common questions
What people ask about render.
We cover Monmouth, Abergavenny, Chepstow, Usk, Raglan and everywhere between.
Which render should I choose?
Can you render over the render that is already there?
How do I know my render needs replacing?
What time of year can rendering be done?
Will I need scaffolding?
Get a price for your rendering.
Tell us roughly how many elevations, how many storeys and what is on there now. A photo of the wall helps. We will come and look, then give you a fixed price in writing.